How a photobook is made, from file to finished book
What actually happens after you press order: the checks, the press, the binding and the hands that touch your book on the way to your door.
By the Studio7 min read
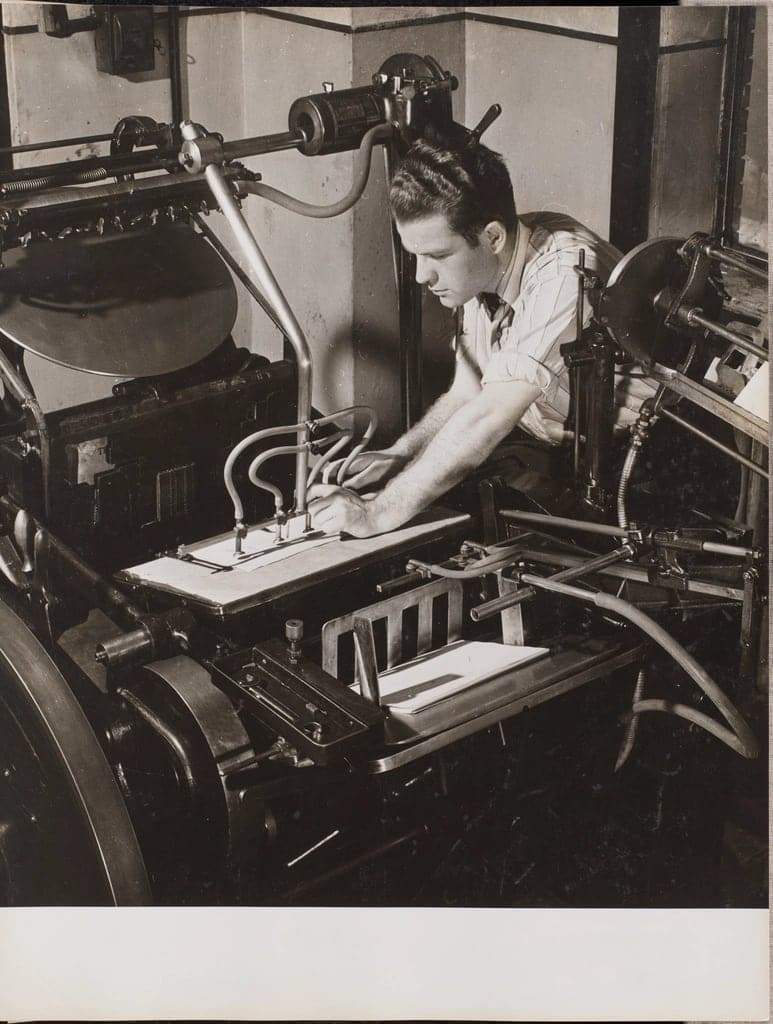
Pressing the order button feels like the end of the work. For a photobook, it is the beginning of a second, quieter process: one that turns a file on a screen into an object with weight, smell and the small creak of a new spine. Knowing what happens in that process helps you design a better book, and it explains why good printing takes a few days rather than a few minutes.
Step one: the file check
Before anything is printed, every page is checked. Automated checks look for photos that will print soft, text too close to the edge, missing bleed and empty frames. Then a person looks through the book page by page, because some problems only a human notices: a photo accidentally placed twice, a caption with a typo in a name, a face cut by the gutter. If something looks wrong, you hear about it before any ink touches paper.
Step two: preparing for the press
Your pages are converted from screen colour into print colour using profiles matched to the exact paper you chose. Pages are then arranged in the order the press and binding need, which is rarely the order you read them in. A book is often printed as large sheets holding several pages each, later folded and cut.
Step three: printing
Photobooks are usually printed on digital presses designed for photographic work. They lay down fine dots of ink or toner with remarkable consistency, which is why the same book can be reprinted years later and match. The paper matters here as much as the press: coated papers keep ink on the surface for crisp, rich colour, while uncoated papers let it sink in slightly for a softer, more natural look.
What is the difference between lay-flat and perfect binding?
Perfect binding glues the pages into a spine, like most paperbacks and many magazines. It is clean and economical, but the book does not open completely flat, so the middle of each spread curves into the gutter. Lay-flat binding joins each spread along its fold so the book opens fully flat, letting a single photo cross both pages without losing anything in the middle. For travel books and weddings with wide photos, lay-flat is worth it.
Step four: binding and covers
Printed sheets are folded, gathered, trimmed and bound. Hardcovers are built separately: board wrapped in printed paper, cloth or linen, then joined to the pages with endpapers. This is the slowest, most hands-on stage, and the one where care shows most. A cover that is a millimetre off square, or glue that has crept onto a page, is easy to spot.
Step five: final inspection and packing
Finished books are checked again for colour, trim and binding, then wrapped to protect corners and surfaces. Corners are the most fragile part of any book in transit, which is why good packaging matters as much as good printing.
What this means for your design
- Respect the safe zone and the gutter. The blade and the binding are real.
- Choose lay-flat binding if your best photos are wide.
- Proofread names and dates twice. The person checking your book does not know how your cousin spells her name.
- Allow a few days for printing and binding. Good books are made, not just output.