How to photograph the Himalaya on a trek
Big mountains are surprisingly hard to photograph well. Practical advice on light, scale, batteries and the small moments between viewpoints.
By the Studio8 min read
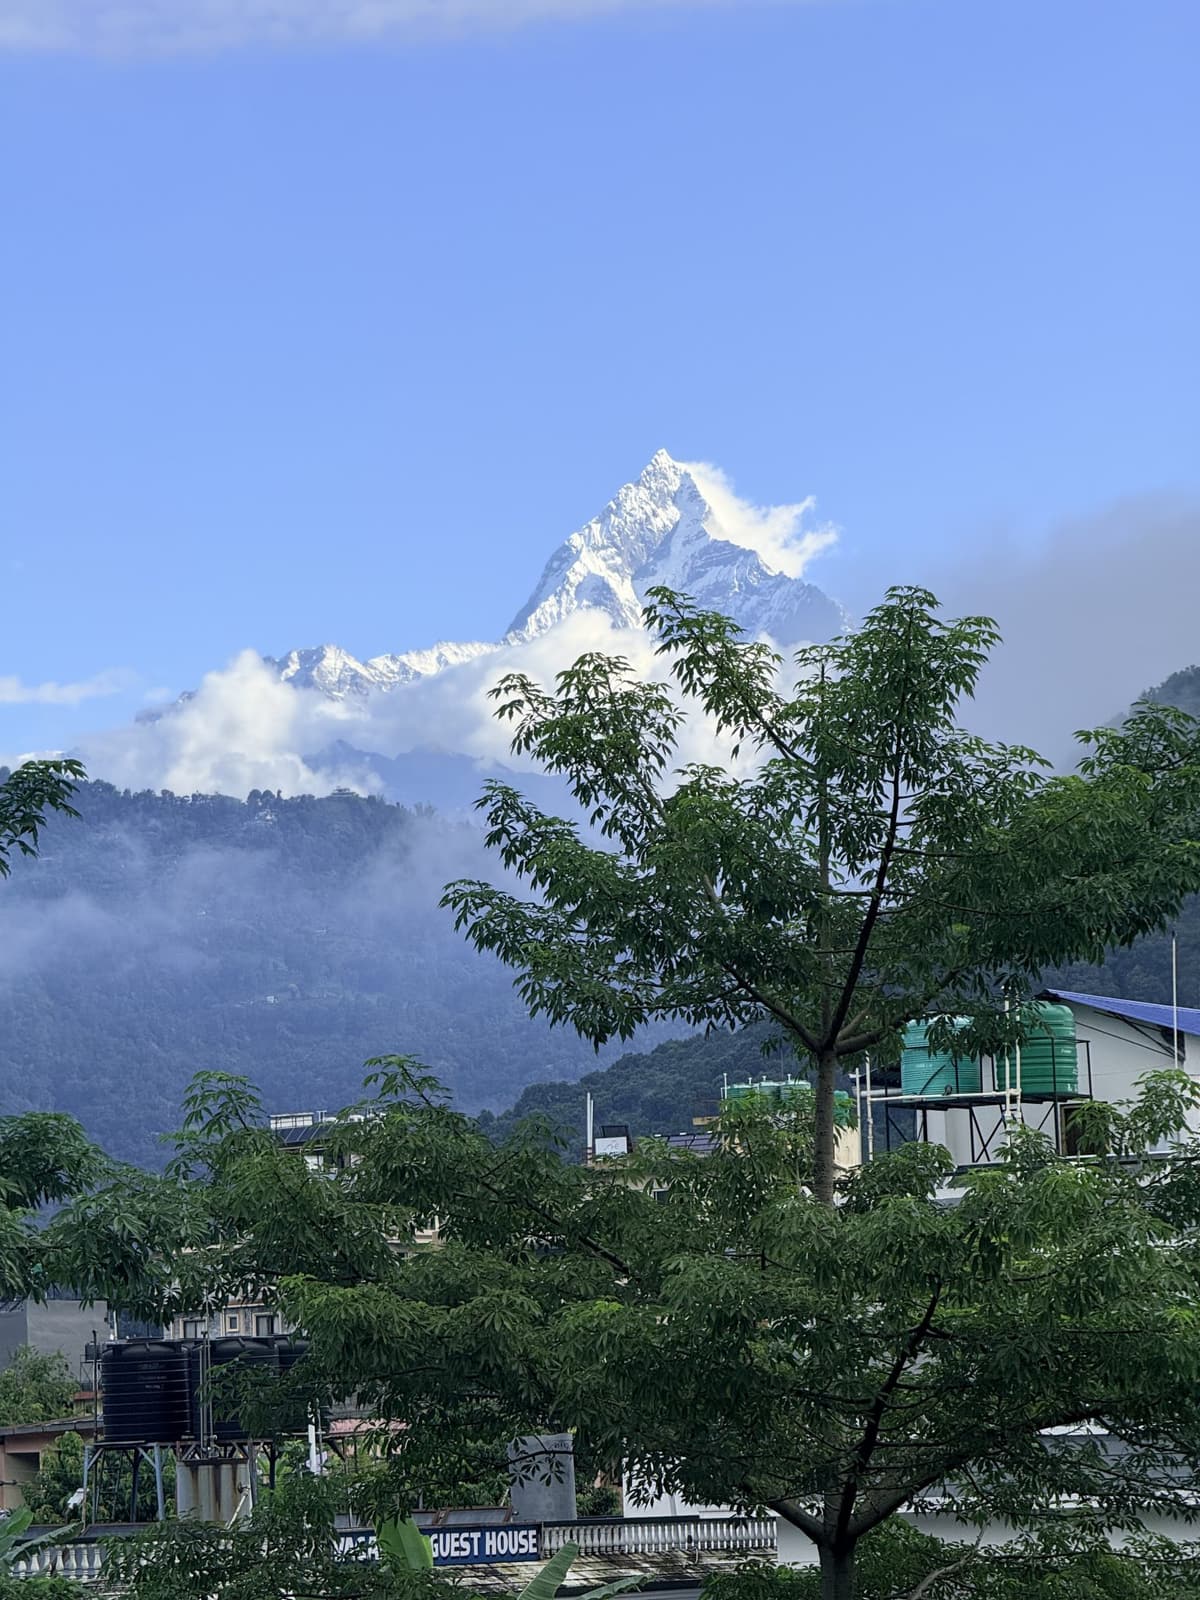
The first time you see a Himalayan peak catch the morning sun, you will take forty photos in two minutes. Back home, most of them look strangely flat: a white triangle, a blue sky, nothing like the feeling of standing there. Mountains are huge, bright and far away, and every one of those things fights a camera. Here is how to bring back photos that feel the way the trail felt.
When is the best light for mountain photos?
Early morning, by a wide margin. In the hour around sunrise, light comes from low on the horizon, turns snow gold and pink, and throws long shadows that reveal ridges and texture. Skies are often clearest at dawn, before clouds build in the afternoon. Late afternoon can be beautiful too, but in many seasons the peaks are hidden by then. If a viewpoint is famous for sunrise, it is famous for a reason. Set the alarm.
Show the scale
A mountain on its own has no size. Include something human to measure it against: a trekker on the trail, a tea house roof, prayer flags, a line of porters, a single tree. Place that small element low in the frame and let the peak fill the space above it. The contrast between small and vast is what makes viewers feel the height.
How do I stop snow looking grey or blown out?
Phones and cameras try to make everything mid grey, so bright snow often comes out dull, or the sky behind it burns to white. Tap on the brightest snow to set exposure, then nudge brightness down slightly. You want detail in the whitest areas. Shadows on the trail can be lifted later when you edit.
Use the foreground
Wide photos of distant mountains feel more three dimensional with something interesting close to the lens: wildflowers, a stone wall, a stupa, the edge of a trail. Get low, put the foreground in the bottom third, and let the eye travel from near to far.
Do not forget the in between
The peaks are the headline, but the book is made from everything else. Tea in a steel cup. Boots drying by the stove. Hand painted signs. The friend you met on day three. Dal bhat at the end of a long day. Take these photos generously. They are the pages people linger on.
Keep your batteries alive
Cold drains batteries quickly at altitude. Keep your phone and spare batteries in an inside pocket during the day and inside your sleeping bag at night. Carry a small power bank, and charge whenever a tea house offers it. Airplane mode saves a surprising amount of power when there is no signal anyway.
How should I back up photos on a long trek?
Signal and electricity are unreliable on many routes, so cloud backup may not work for days. If you have a camera, carry a second memory card and swap halfway. If you shoot on a phone, free up storage before you leave and back up the moment you reach reliable internet. A lost phone on day eight should not mean a lost trip.
Build your trek book as you walk
At the end of each day, star or favourite the three or four best photos. It takes two minutes in the tea house and saves hours at home. When you return, you will already have the bones of your book: one chapter per day, each with a mountain, a person and a detail.